
Belts for Glass Processing
Choose by the glass contact, the transfer arrangement and the process environment. Review conveying and positioning belts for flat-glass handling, wet processing and downstream assembly.
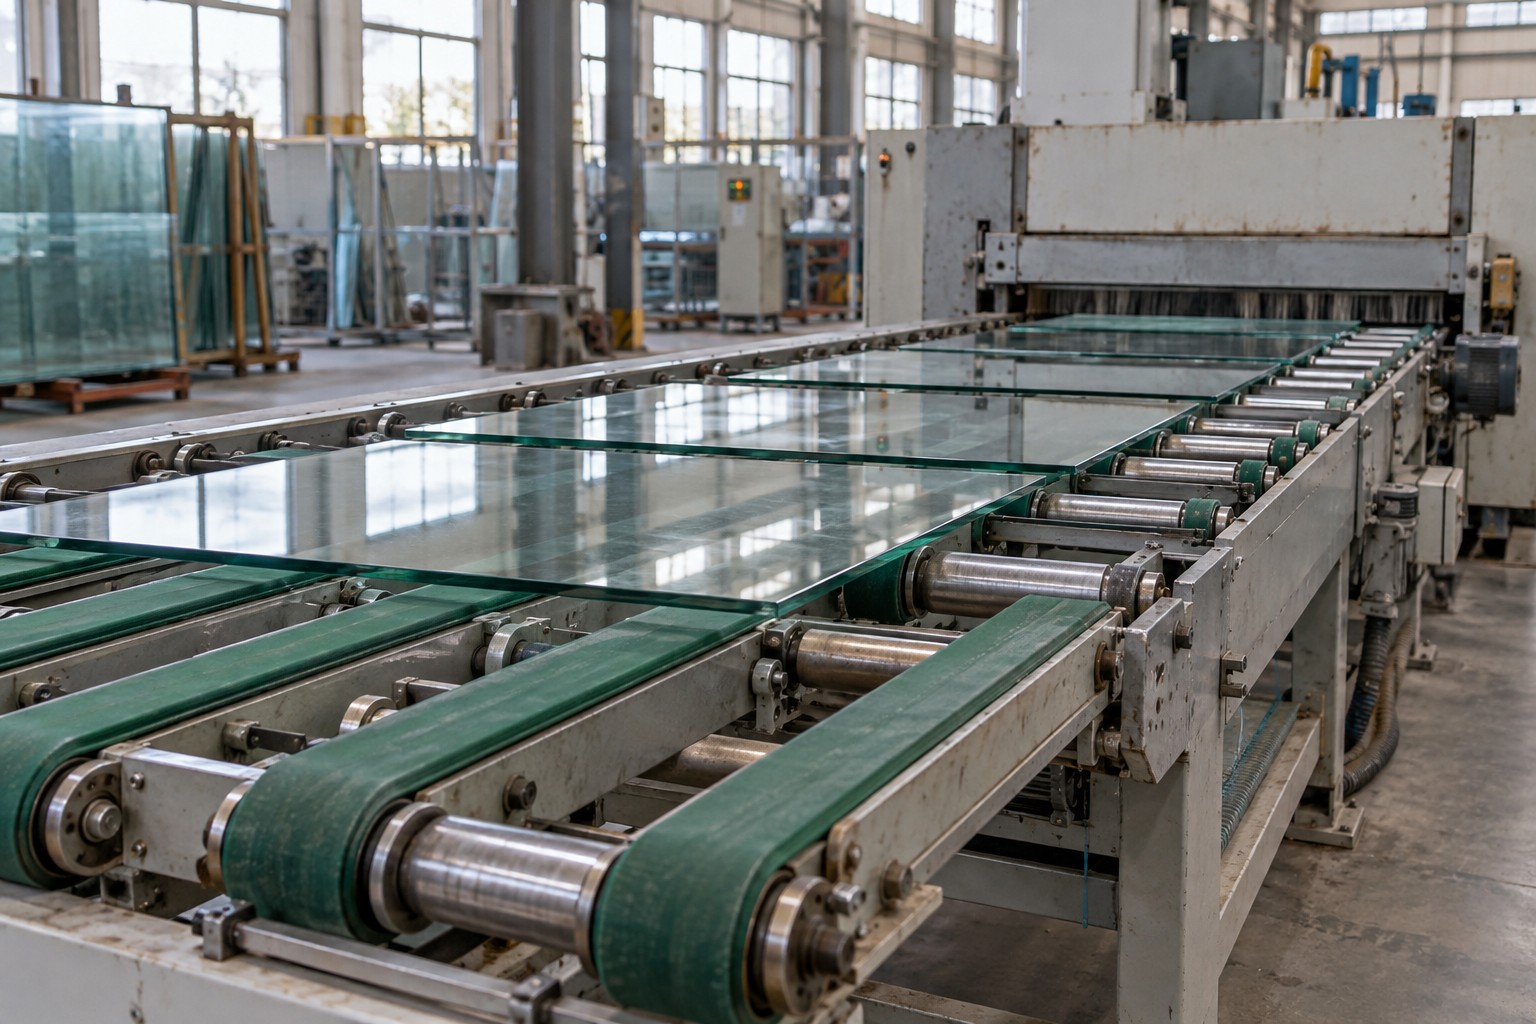
Follow the glass through each handling position
A glass line combines several ways of moving the sheet. Some stations carry it on narrow belts, others on rollers, and some use a separate belt to drive the transport mechanism. Identify the component that actually needs replacing before comparing materials.
Begin with the glass format, thickness and orientation. Record the face in contact, including any coating, and how the sheet enters and leaves the station. A belt choice must work with this support arrangement as well as with the drive.
Loading & transfer
Locate the belt carrying the sheet and the handover to the next support.
Edge processing
Identify conveying and pressure positions around the wet machining area.
Washing & drying
Distinguish transport components from brushes, rollers and drive belts.
Assembly & unloading
Review indexing, stop/start movement and protection of the finished surface.
Glass sheet handling: support, transfer and surface protection
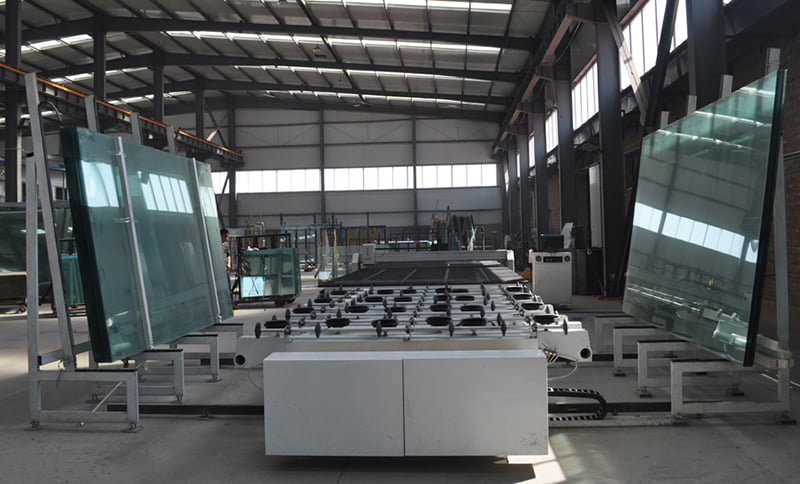
From sheet storage to controlled movement
Large glass sheets need support as they move between loading, transfer and processing. The handling layout may combine racks, tables, rollers and belt-driven components. Begin with the sheet route and locate the belt within that arrangement.
For a replacement inquiry, identify whether the component touches the glass, drives a roller or controls a transfer. Then connect its construction to the glass format, the supported face and the machine geometry.
The details change with the product: a large uncoated sheet, a small cut piece and coated architectural glass can have different contact and support requirements. Include the actual range handled at the station when comparing belt options.
Keep support continuous at the handover
The entry and exit are part of belt selection. Record the gap, level difference and support on both sides of a transfer, together with the smallest sheet and the direction of movement. Where lanes carry the glass, include their centres and the areas of the underside they contact.
A photograph of the complete station helps connect the replacement belt to the surrounding rollers, stops and guides. Include close-ups of the existing belt separately so surface detail does not replace the wider installation view.
Review the surface after the process
Agree what acceptable handling looks like for the finished glass. Inspect the supported face and edges using the relevant lighting and finish requirements, and include the coated face where applicable.
If marks appear after washing or downstream processing, record that sequence. The inspection should connect the product defect, belt condition, deposits and nearby contact components rather than treating belt softness as the only selection factor.
Turn operating requirements into a belt specification
| Operating requirement | What to review | Practical acceptance evidence |
|---|---|---|
| Strength and dimensional behaviour | Maximum sheet mass, start/stop duty, original reinforcement, installed tension method and any matching requirement for parallel belts. | Approved construction and dimensions, with tracking and transfer observations under the agreed operating duty. |
| Wear and product protection | Contact tracks, glass fines, guides, edges and the condition of the supporting machine components. | Representative glass inspected for the agreed appearance criteria, with photographs of belt and contact areas. |
| Water and chemical exposure | Process water, slurry, additives and cleaning products, including actual temperature and contact duration. | Compatibility review for the chosen cover, reinforcement and joint, with operating and cleaning observations. |
| Joint and installation | The loop, joint method, pulley path, reverse bends, clearances and access for replacement. | Fit and surface continuity checked against the machine procedure and approved belt drawing. |
Keep these requirements linked to one identified machine position. For an order covering several stations, label each reference separately and retain the accepted construction, drawing and sample record for repeat supply.
Separate product support from the machine drive
| Machine position | Belt duty | Selection priorities |
|---|---|---|
| Horizontal transfer | Supports and moves the glass between operations. | Sheet dimensions, supporting lanes, gaps, acceleration and surface contact. |
| Edge-processing feed | Carries or controls the sheet at the machining station. | Upper/lower position, pressure arrangement, water, slurry and installed geometry. |
| Synchronized movement | Uses toothed belts in a defined relationship to the mating pulleys. | Profile, pitch length, width, reinforcement and any fitted attachments. |
| Roller transport drive | Transmits motion to a roller system without necessarily touching glass. | Original belt section, pulley layout, transmitted load and environment. |
Connect the application to the belt construction
Use the original belt construction as the first filter. LKBELT’s range includes round belts, timing belts and flat conveyor belts; the finished reference is selected around the particular glass-handling position.

PU round belts
Review round-section conveyor lanes or existing light-drive arrangements by diameter, groove and joint.
Explore product family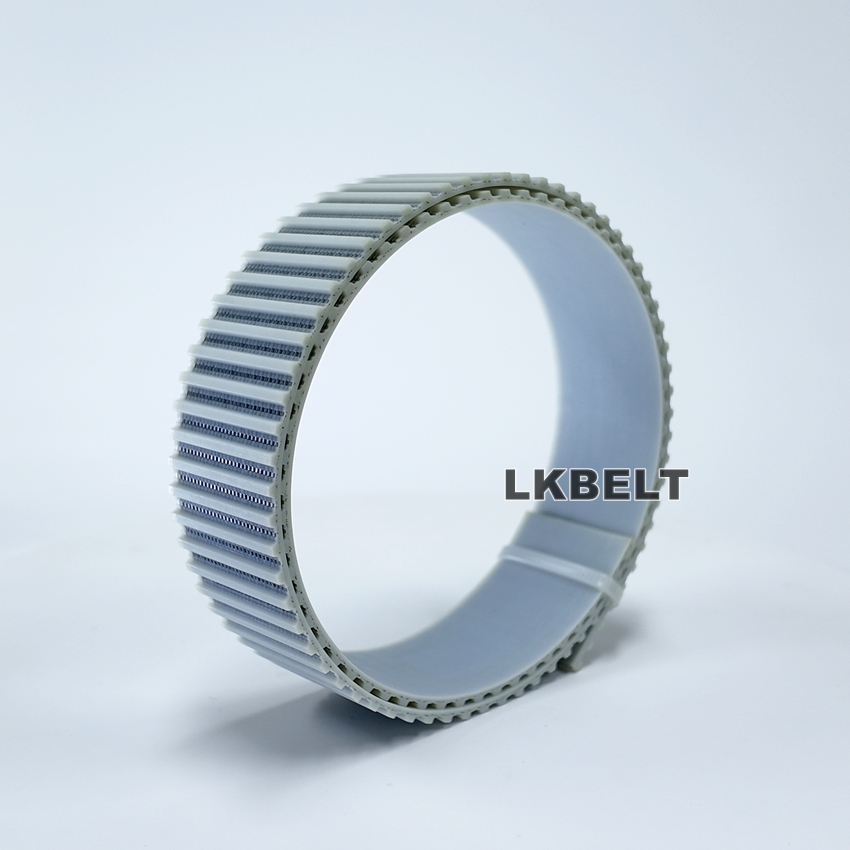
PU timing belts
For glass-processing drives and synchronized handling, match the tooth system, length and working face to your machine position.
Explore product family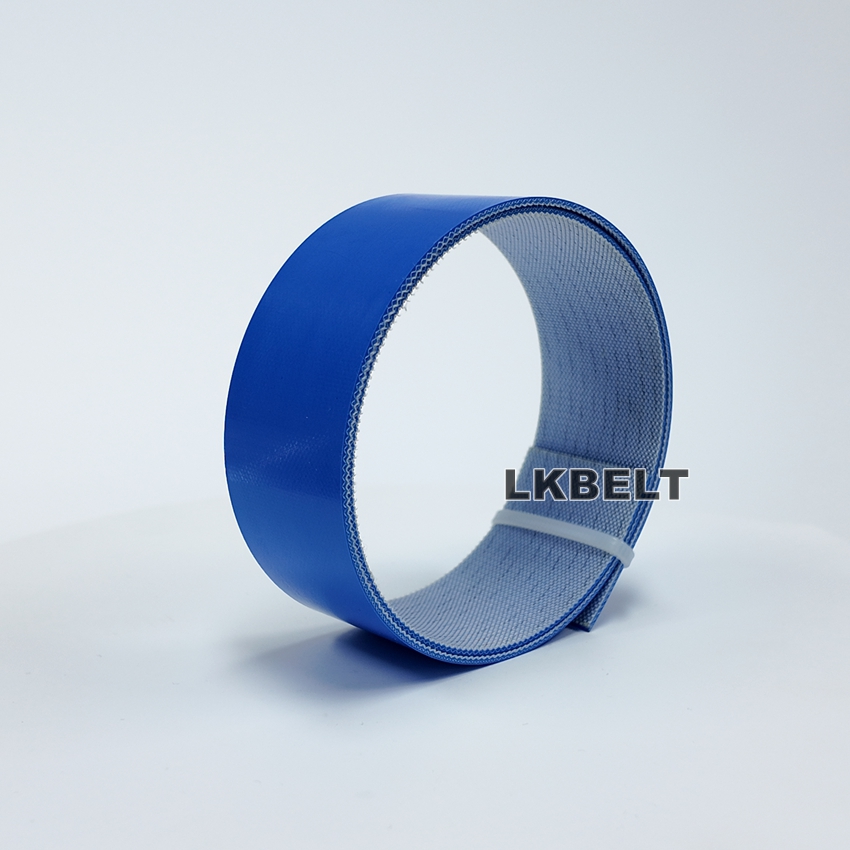
Flat conveyor belts
Compare the complete cover, fabric, underside and joint for a broad-support conveying position.
Explore product familyProtect the contact surface and the handover
Contact face
State whether the belt touches a coated face, an uncoated face or an edge. Agree the surface inspection method with the glass finish requirement, using the actual glass type and process sequence.
Support layout
Document lane count, centres, support width and the smallest sheet handled. Photograph the entry and exit of the station so the replacement review includes the transfer gap and height difference.
Drive and guidance
A changed cover or belt thickness can affect clearances and contact conditions. Record guides, pressure components and bends together with the original belt reference; keep the machine arrangement in the evaluation.
Review water, particles and the finished glass
Wet exposure
Name the process water, cleaning products and additives reaching the belt. Record temperature and contact duration, including whether the line remains wet during stops. Check the selected construction against those actual conditions.
Glass fines and slurry
Show where particles collect on the carrying face, guides and return path. Embedded debris can create repeated contact marks. Include cleaning access and the condition of the supporting components in the review.
Coated or sensitive sheets
Send the glass specification and which face is supported. Evaluate appearance after the relevant downstream operation as well as immediately after conveying; agree lighting and inspection criteria for the trial.
Thermal position
Measure the temperature at the belt position and state the measuring point. Furnace transport and hot-process components require their own reference; a room-temperature transfer specification does not cover those duties.
Compare the complete handling system
| Decision | What to compare | What to send |
|---|---|---|
| Grip and release | Sheet control during starts against unwanted drag at transfer or positioning. | Actual sheet, speeds, acceleration and contact face. |
| Narrow lanes and broad support | Original support geometry against product format and transfer design. | Lane drawing and smallest/largest sheet dimensions. |
| Smooth and textured surfaces | Contact pattern, deposits, cleaning and appearance after handling. | Original texture and marked sample photographs. |
| Joint and installation | Access, pulley bends and surface continuity at the handover. | Joint reference, machine clearance and replacement procedure. |
A drawing makes the replacement discussion precise
Keep the requested new dimensions distinct from measurements of a stretched or damaged belt. For parallel lanes, label each position and retain any machine requirement for a matched set.
| Specification | Record this information | Why it matters |
|---|---|---|
| Belt geometry | Finished length basis, width or full section, thickness and direction. | Defines the replacement loop and contact geometry. |
| Timing system | Tooth profile, pitch, tooth count, width and pulley reference. | A nominal length alone does not identify the mating system. |
| Surface and underside | Contact face, texture, backing, guides and existing marks. | Links the belt construction to both glass and machine. |
| Bends and support | Pulley diameters, reverse bends, support bed and transfer positions. | Provides the installed path for construction and joint review. |
Turn marks and movement problems into useful evidence
Repeated surface marks
Record the spacing, face and position of marks. Compare their repeat pattern with the belt loop and installed components; photograph the carrying surface before cleaning and after cleaning.
Skew at transfer
Show the complete transfer with the sheet size, lane layout and operating direction. Record when the skew begins, rather than describing only the sheet position at the downstream stop.
Belt edge wear
Identify which side wears, the guide arrangement and any contact with the frame. Include pulley alignment and tracking observations in the maintenance review before specifying a different edge construction.
Agree a sample review around your process
Confirm the reference
Agree construction, dimensions, position labels and any matching requirement before making the sample. Retain the approved drawing and original belt code in the order record.
Check installation
Use the machine procedure to check fit, support, tracking and transfer clearance. Record the settings used so later samples are compared under the same conditions.
Run representative glass
Include relevant sizes, thicknesses and coated surfaces. Observe the handovers and inspect the supported face using the agreed appearance criteria.
Record the result
Keep operating conditions, inspection photographs and any cleaning observations together. Resolve the trial findings before ordering the repeat quantity.
Glass belt selection questions
Can the same belt serve every glass station?
Select by the installed position. A conveying lane, a pressure belt and a roller-drive belt can have different sections, contact duties and environmental exposure even on one line.
Does a soft surface guarantee scratch-free handling?
The full contact system matters. Include the glass coating, deposits, trapped particles, support components and cleaning method in the sample review.
What should I measure for parallel belts?
Label each lane and record its original reference, loop dimensions, section and pulley arrangement. Add the machine’s matching requirements and current replacement history.
Can I choose a belt from glass temperature alone?
Provide the actual belt contact temperature, duration and measuring point as well as the glass temperature. Identify any furnace or hot-zone component separately.
What information speeds up a quotation?
Send the machine and station, belt code, drawing, quantity and destination. Include glass sizes, supported face, wet conditions and photographs of the working face and underside.
Discuss your glass-handling belt
Send the exact station and the belt’s role: supporting glass, applying pressure, positioning a sheet or driving rollers. Include glass dimensions, contact face, transfer layout and water or chemical exposure.
For a marking problem, add a clear photograph of the glass defect and its repeat pattern. For a replacement, add the original code and a drawing of the requested new belt.
Send your drawing or original belt reference
Include the quantity, delivery destination, replacement schedule and any sample approval requirements. Clear photographs of the working face, underside and installed position help us review the construction.
Get a Quote