
A nominal width and a material name rarely describe a complete replacement conveyor belt. The missing detail may be the length reference, the underside construction, or a guide positioned differently from the original.
Here is how to measure a conveyor belt for replacement: record its actual width, length with a stated measurement reference, and overall thickness. Then identify both surfaces, reinforcement, joint construction, and attachment dimensions and positions. Separate measured values from estimates, and have the supplier confirm the finished specification before ordering.
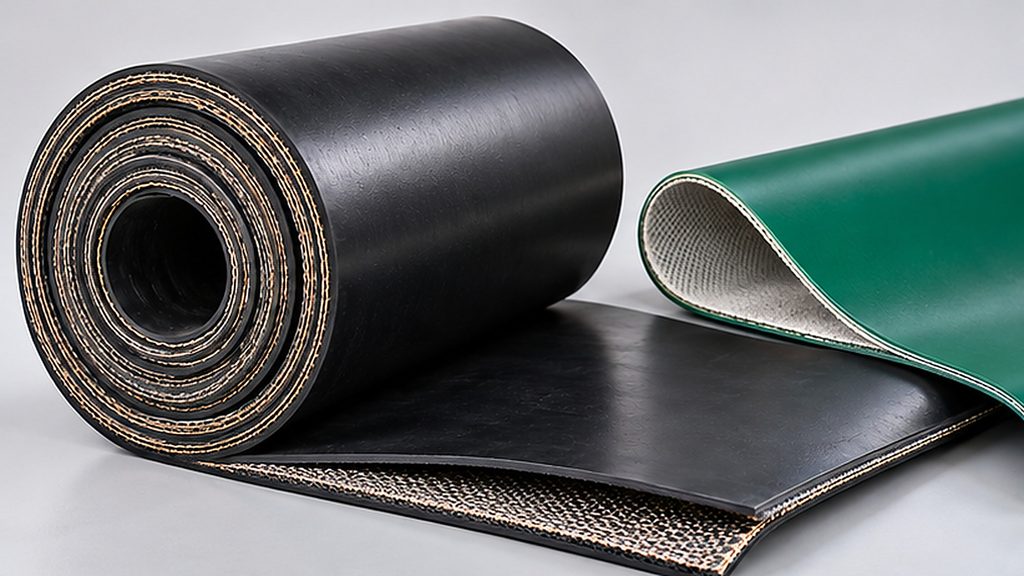
What Measurements Do You Need for a Replacement Conveyor Belt?
Start with the original part number, machine drawing, previous order, and any readable belt marking. Compare those records with the existing belt rather than assuming either describes its present condition perfectly.
Use a suitable tape, straightedge, caliper, camera, and dimensioned sketch. Keep units consistent and label every photograph with the relevant measurement. Record damage, measurement conditions, and anything inaccessible.
Work in this order: check identification and drawings; safely measure width and thickness; establish the required length reference before measuring length; document both surfaces and the joint; then add attachment dimensions to an RFQ drawing. This keeps sample readings separate from the finished specification.
Before accessing a machine, follow its isolation and stored-energy procedures. Do not measure a moving belt or enter an exposed nip point. For covered US workplaces, OSHA’s hazardous-energy control standard establishes applicable servicing and maintenance requirements; other jurisdictions have their own requirements.
How to Measure Conveyor Belt Width and Thickness
Measure the belt width directly
Measure across the belt, perpendicular to its longitudinal direction, at several accessible, reasonably undamaged locations. Report variation and worn edges rather than selecting one convenient reading.
Belt width, conveyor frame width, pulley face width, and usable conveying width are different dimensions. Sidewalls or edge restrictions may reduce the usable carrying area without changing the base belt width. Guides, tracking movement, and surrounding components also affect clearance.
If the belt is missing, record the machine dimensions separately and obtain the intended belt width from a drawing or engineering review. There is no universal amount to subtract from frame width.
Record thickness and construction separately
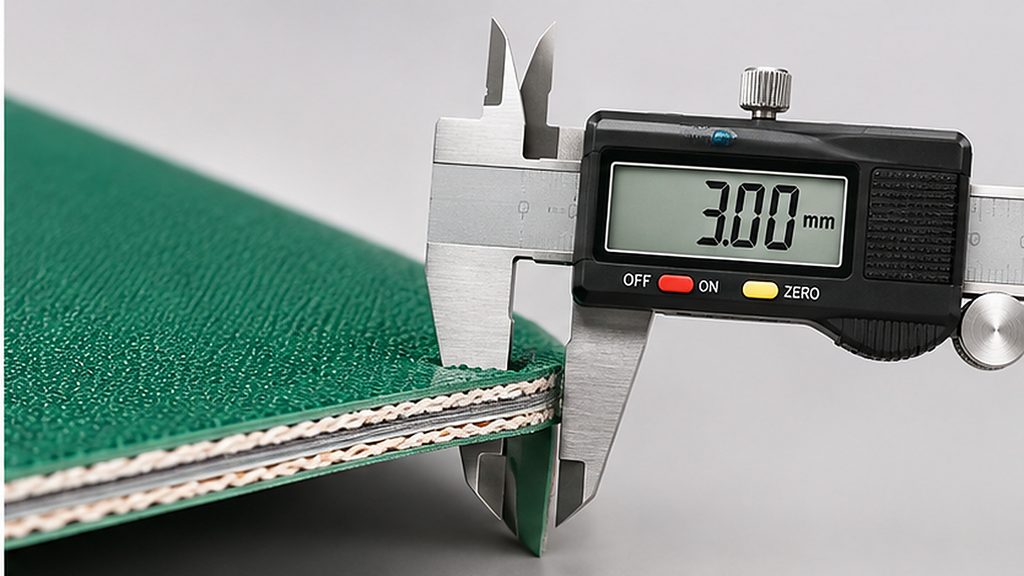
Use an appropriate caliper on accessible, clean sample areas, avoiding excessive compression. Note whether the reading includes a raised pattern, worn coating, joint, or attachment. Several readings are more informative than a single measurement on a damaged edge.
Overall thickness includes the belt’s combined construction. It does not reveal the individual carrying coating, fabric reinforcement, underside, or their original thicknesses. A cut sample may help identify visible layers, but unknown construction still needs a datasheet or supplier assessment.
Ply count alone does not establish tensile rating, stiffness, or minimum pulley diameter. Do not replace a worn belt by simply matching its reduced thickness. LKBELT’s conveyor belt materials and construction guide explains the broader distinctions without treating thickness as a material specification.
How to Measure Conveyor Belt Length
Agree on the length reference first
An endless belt has different possible measuring paths. Inside circumference follows its inner surface; neutral-axis length refers to a line within its thickness and is also described as flat length in some documentation. They are not automatically equal.
Forbo’s Establishing the Lengths of Endless Belts specifies untensioned inside length for its relevant spliced-belt orders and describes checking both edges. Its alternative methods have construction restrictions. These are manufacturer-specific instructions, not a universal LKBELT ordering convention.
Ask the supplier which reference and measurement conditions apply. Thickness becomes particularly significant when distinguishing measuring paths on short loops or where tight dimensional agreement matters.
Removed endless belt
Support the belt without deliberately stretching it. If an inside-circumference measurement is practical, use a suitable tape following that surface without bridging curves. Record the method, belt condition, and readings from both edges; investigate disagreement rather than concealing it in one number.
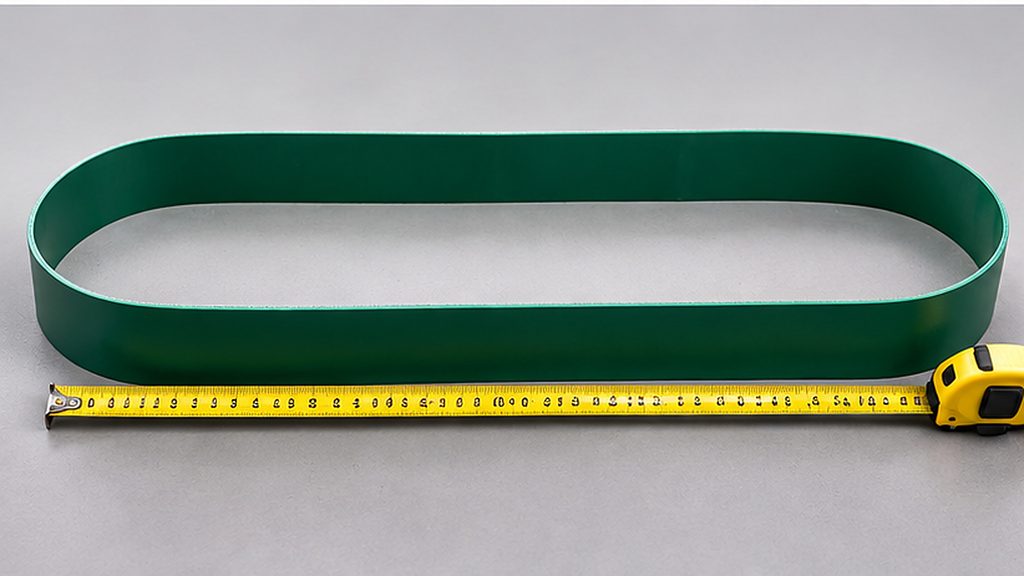
For large or awkward loops, agree on a suitable alternative with the supplier. Do not assume doubling a folded measurement produces the requested inside length, or crease an unidentified belt to make measuring easier.
Open-ended belt
Lay the belt out straight, supported and without intentional stretch. Measure between clearly identified endpoints and record whether they are raw cut ends, prepared joint ends, or mechanical-fastener references. Include the condition of both ends.
An open strip’s measured length does not automatically equal the finished endless circumference. A previously cut loop also loses information if material has been removed at its joint.
Belt still installed
Use accessible identification and drawings first. If physical measurement is necessary, qualified personnel should agree on a safe method after isolation. Record the actual route and take-up position, distinguishing an installed measurement from an untensioned belt measurement.
Never advance the belt under power while holding a tape against it. Where the full path cannot be safely accessed, provide the available measurements and mark the remaining length as an estimate.
Missing or badly damaged belt
Reconstruct the required specification from machine drawings, previous orders, remaining samples, and the complete pulley route. A stretched, torn, or shortened belt provides evidence, but its present dimensions may not represent the replacement requirement. For the separate damage decision, see assessing conveyor belt repair versus replacement.
Can You Calculate Conveyor Belt Length from Pulley Dimensions?
A simple two-pulley estimate combines the straight belt spans with the curved portions around the pulleys. With equal pulleys in a basic open arrangement, the straight spans relate to center distance and the combined wrap corresponds to a full circumference at the selected measuring path.
Different pulley diameters change the tangent geometry and wrap angles. Belt thickness also changes the relationship between pulley surfaces and the belt’s chosen length reference. A convenient approximation is therefore not automatically a finished cutting dimension.
Draw the complete route before estimating: include snub rollers, take-up rollers, inclined transitions, nosebars, omega drives, and any alternative return path. Record current take-up position and available adjustment rather than assuming the fully retracted position is correct. The Habasit Fabric Conveyor Belts Engineering Guide illustrates why drive layouts and tensioning arrangements require attention.
Label a geometry-based result estimated path length, with its assumptions. Reconcile it with the required finished-belt reference and installation arrangement before ordering.
What Else Must You Record About the Belt Construction?
Photograph the carrying surface and underside separately. Describe smooth or patterned surfaces, fabric or coated undersides, directional textures, and any uneven wear. State which side contacts the product and which contacts the conveyor support.
Terms such as coated side or bare side need a clear description for the particular product. They do not independently prove suitability for a slider bed or roller support. Include the material conveyed, load, speed, support arrangement, cleaning method, and relevant operating temperatures for supplier review.
For PVC, PU, PVK, or an unidentified fabric belt, retain the original designation where available. Color and appearance do not establish food-contact compliance. Specify the required documentation for the intended application.
For a replacement such as LKBELT’s transparent PU conveyor belt, specify finished width, length, total thickness and joint requirements together. Include the support arrangement and installation access so the inquiry describes the finished belt needed on the machine, rather than only the roll material.
Record the joint and the required supply form
An endless belt may contain a splice. In finger and lap joint constructions, finger preparation uses interlocking ends, while lap preparation uses overlapping prepared ends. Photograph the existing joint from both sides and include a side view where accessible.
Record whether the replacement must arrive endless, open-ended for installation, or with an agreed fastening arrangement. For a mechanical joint, identify the fastener and measurement endpoints rather than assuming the cut ends define the order length.
Raw cut length, prepared splice length, and finished loop length are separate specifications. Do not add an arbitrary splice allowance. Have the supplier confirm preparation requirements, finished thickness, pulley compatibility, and installation access for the selected construction.
How to Measure Cleats, Guides and Sidewalls
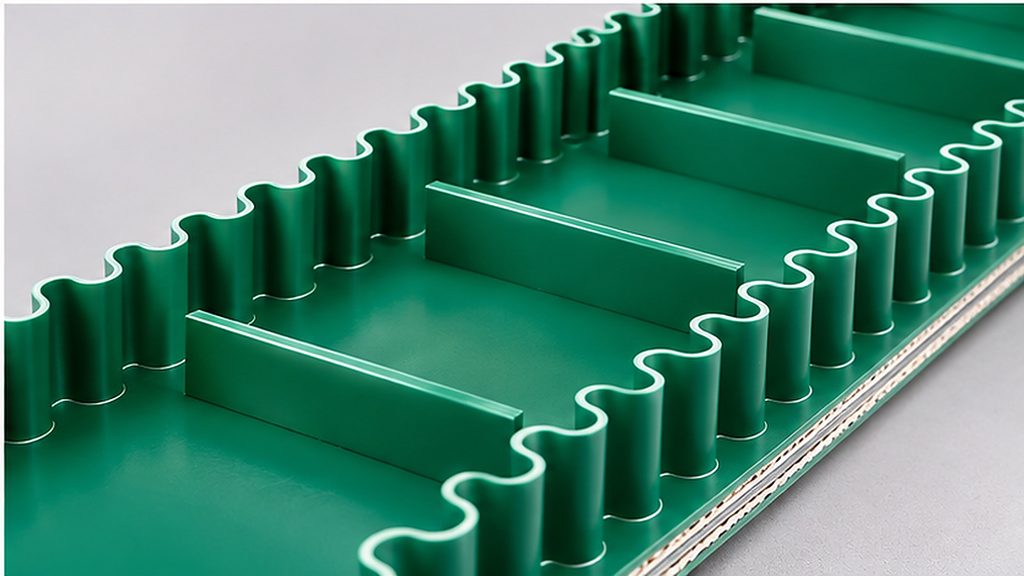
LKBELT’s PVC conveyor belt with sidewalls and cleats provides a practical example. Its published inquiry guidance calls for base-belt dimensions, sidewall offsets, cleat dimensions and usable pocket width, guide position, and conveyor clearances. For a replacement, show base width and finished length, sidewall height and position, cleat height and pitch, clear carrying width, and any underside guide on one drawing. Add travel direction, the required joint and installation access.
Draw the belt with a direction-of-travel arrow and a named reference edge. Record cleat height from the carrying surface, cleat width, orientation, and repeat spacing. State whether spacing means center-to-center pitch or clear gap, and show the pattern around the joint.
For sidewalls, record height and position relative to the belt edge, identifying whether the offset reaches the sidewall’s outer edge, inner edge, or centerline. Include the clear space between sidewalls when relevant to the conveyed product.
For an underside guide, record its cross-section, bottom width, height, and centerline position from the reference edge. For paired guides, record centerline separation. State explicitly whether a profile dimension means bottom width × height, and include a cross-section sketch. A guide designation alone does not locate it on the belt.
Forbo’s Profiles, Cleats and Sidewalls likewise uses defined profile positions and distinguishes longitudinal and lateral arrangements. Confirm the proposed drawing against the conveyor’s grooves and support geometry.
Conveyor Belt Measurement Checklist
| Measurement or specification | How to record it | Why it matters | What needs confirmation |
|---|---|---|---|
| Identification | Part number, marking, previous order | Connects measurements to a product | Current approved specification |
| Width | Several readings across the belt | Separates belt width from machine width | Finished width and tolerance |
| Length | Value, reference, method, condition, both edges where relevant | Makes the result interpretable | Supplier’s ordering definition |
| Thickness | Multiple locations; note pattern, wear and joint | Identifies sample variation | Original construction and tolerance |
| Top and underside | Separate photos and descriptions | Records product and support contact | Material and application suitability |
| Joint and supply form | Joint photos; endless or open-ended | Defines replacement and installation needs | Preparation and finished dimensions |
| Attachments | Height, section, pitch, datum offsets, travel arrow | Locates features on the finished belt | Drawing and machine clearances |
| Conveyor route | Pulley dimensions, path sketch, take-up position | Supports length and bending review | Required reference and adjustment |
| Operating requirements | Product, load, speed, cleaning, temperatures | Prevents dimension-only substitution | Datasheet and required documentation |
Two Practical Replacement Measurement Scenarios
A compact conveyor with a small transfer
Consider a hypothetical short conveyor using a fabric-based PVC or PU belt. Matching width and overall thickness leaves several questions unanswered: which length reference was measured, what is the smallest bend, and how does the joint pass that transfer?
Provide the complete route, pulley or nosebar details, both belt surfaces, and installation access. Ask for confirmation of the proposed belt and joint against that geometry. Do not infer small-pulley suitability from a thin appearance.
A cleated belt with corrugated sidewalls
On a hypothetical inclined conveyor, the correct base width and loop length could still leave cleats colliding with surrounding parts or an underside guide missing its groove.
On the drawing, label base belt width W, finished length L with its measurement reference, and thickness T. Use P for cleat pitch, H for sidewall height, and X for the underside guide centerline offset from a named belt edge. Add separate dimensions for cleat height, sidewall offsets and clear carrying width, plus a travel arrow, joint location and return-path clearances.
These letters are dimension labels, not numerical specifications or a real customer order. Define whether L represents the finished loop or an open length, and whether P is center-to-center pitch. Photographs establish the arrangement; the drawing establishes the requested dimensions.
What to Send with a Replacement Belt RFQ
Copy this list into your inquiry and mark unknown items clearly:
- Existing manufacturer, model, part number, machine identification, and previous order reference.
- Belt width, length and thickness, units, measurement method, length reference, and observed variation.
- Whether readings come from an installed, removed, worn, or damaged belt; take-up position where relevant.
- Material identification, carrying surface, underside, and available construction datasheet.
- Existing joint, requested supply form, installation access, and finished joint requirements.
- Cleat, sidewall, and guide dimensions, spacing, datum positions, and travel direction.
- Conveyor path, pulley and nosebar dimensions, support arrangement, and adjustment information.
- Conveyed product, load, speed, cleaning and operating conditions, and required compliance documentation.
- Quantity, dimensioned drawings, overall photographs, and close-ups of surfaces, edges, joint, and attachments.
- Items measured directly, items estimated, and specifications requiring supplier confirmation.
Frequently Asked Questions
Can I use conveyor frame width as belt width?
No. Record them separately. Obtain the finished belt width from an identifiable belt, approved drawing, or engineering confirmation.
Is a folded endless-belt measurement accurate enough?
It depends on construction and the required reference. Agree on the method before treating a doubled folded reading as an ordering dimension.
Should I order the same length as the worn belt?
Treat that reading as evidence. Stretch, damage, previous modifications, and measurement conditions may require reconciliation with the original specification.
Does the same thickness mean the same belt?
No. Reinforcement, surfaces, flexibility, and joining requirements can differ at similar overall thicknesses.
How much extra length should I add for a splice?
Do not select a general allowance. Specify the required finished belt and supply form, then have the supplier determine applicable preparation dimensions.
Prepare the Finished Specification Before Ordering
A useful replacement inquiry combines measured dimensions with an identifiable construction, a defined length reference, and a clear joint and attachment layout. Review industrial conveyor belt categories alongside those requirements, then send LKBELT your replacement belt specifications for product and quotation review.