
Belts for Ceramic Tile Production
Match the belt to the work: carrying unfired tiles, conveying through glazing, keeping transfer lanes in step, or supporting the finished product.
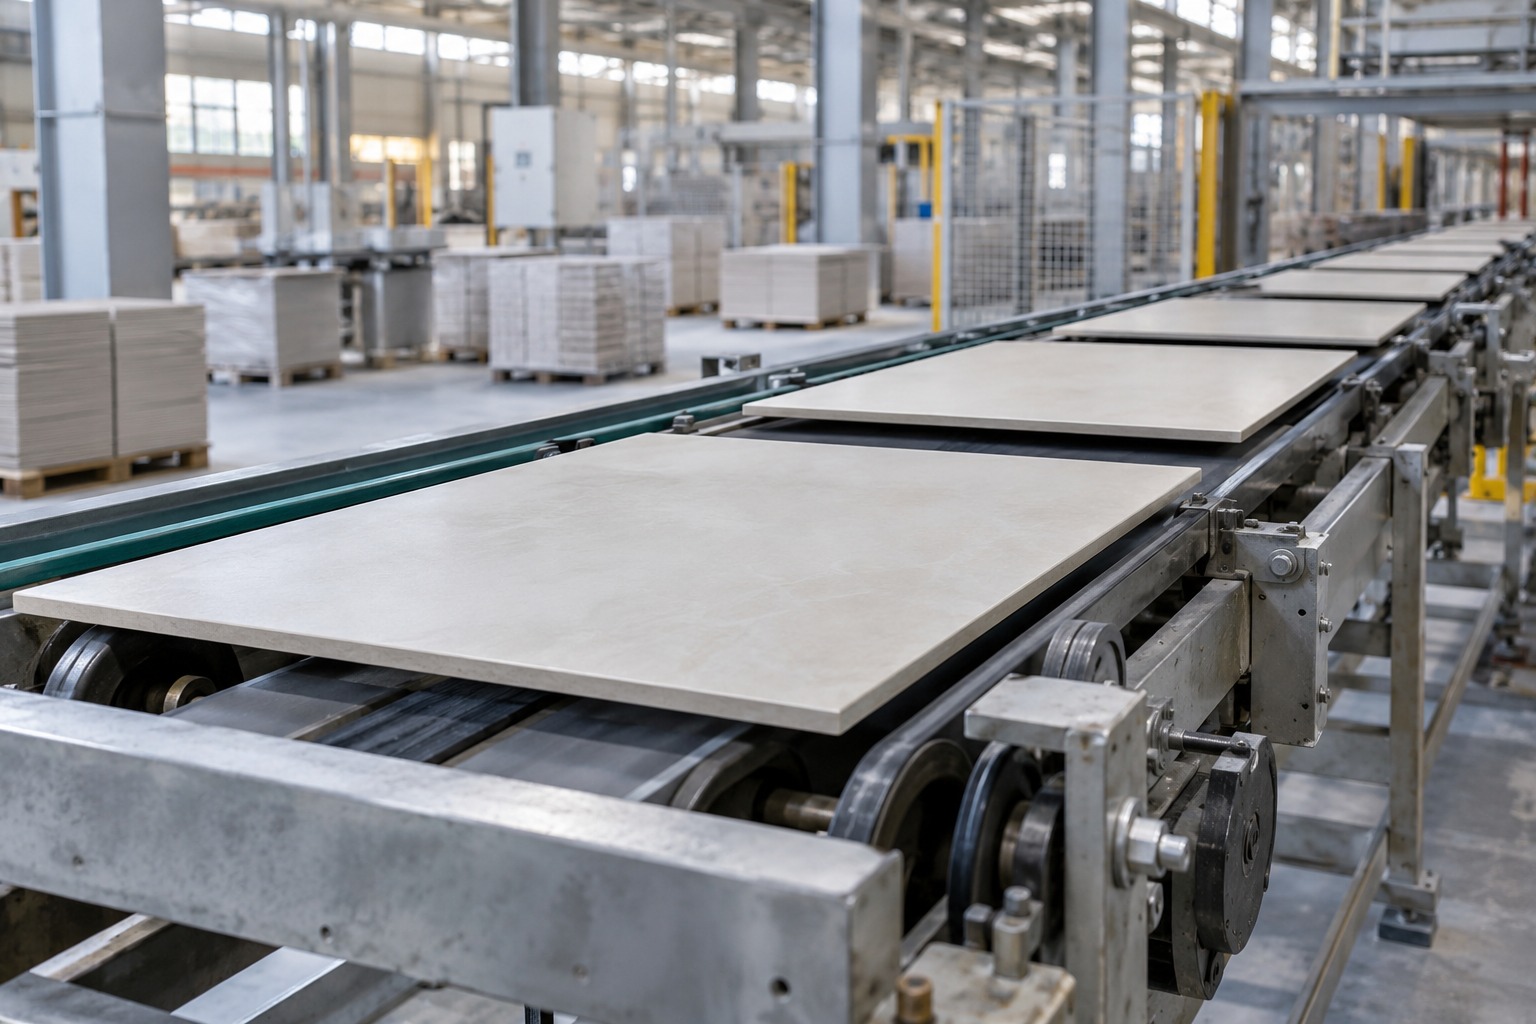
Follow the tile, then identify the belt
A tile line changes after forming, glazing and firing. Separate the product-contact belt from the belt driving the rollers, and identify the exact station before choosing a material or profile.
Unfired handling
Support the tile between forming, drying and decorating operations.
Glazing & decoration
Review contact tracks, deposits and the movement through the station.
Finishing
Identify the conveying and pressure components in wet or dry equipment.
Sorting & packaging
Move the fired product through inspection, stacking and packing.
Firing is a separate part of the line. Roller-kiln transport and its components need their own specification; the temperature inside a kiln does not describe the duty of a downstream handling belt.
Four positions worth separating
| Position | What the belt does | What controls selection |
|---|---|---|
| Tile transfer & glazing | Narrow conveying lanes carry the product through transfers, including curved arrangements in some lines. | Original round or profiled section, lane layout, tile underside, glaze exposure and pulley geometry. |
| Synchronized movement | Toothed belts can move parallel lanes or drive parts of the transport system in a defined relationship. | Tooth profile and pitch, belt length, reinforcement, pulley match and any plate or fixture attachments. |
| Calibration, polishing & squaring | A conveying belt may support the tile under the process; some machines also use an upper pressure belt. | Working-face texture, support conditions, thickness and the machine’s wet or dry process. Keep upper and lower components separate. |
| Sorting, stacking & packing | The fired tile or tile stack moves between inspection, transfer and packaging stations. | Product format, contact surface, lane spacing, transfer height and the start/stop duty of that station. |
Begin with the right construction
Use the original machine reference to narrow the product family, then agree the finished construction for the station.

PU round belts
For an existing round-section conveying or light-drive arrangement. Specify diameter, surface, reinforcement if present, and the installed belt path.
Explore PU round belts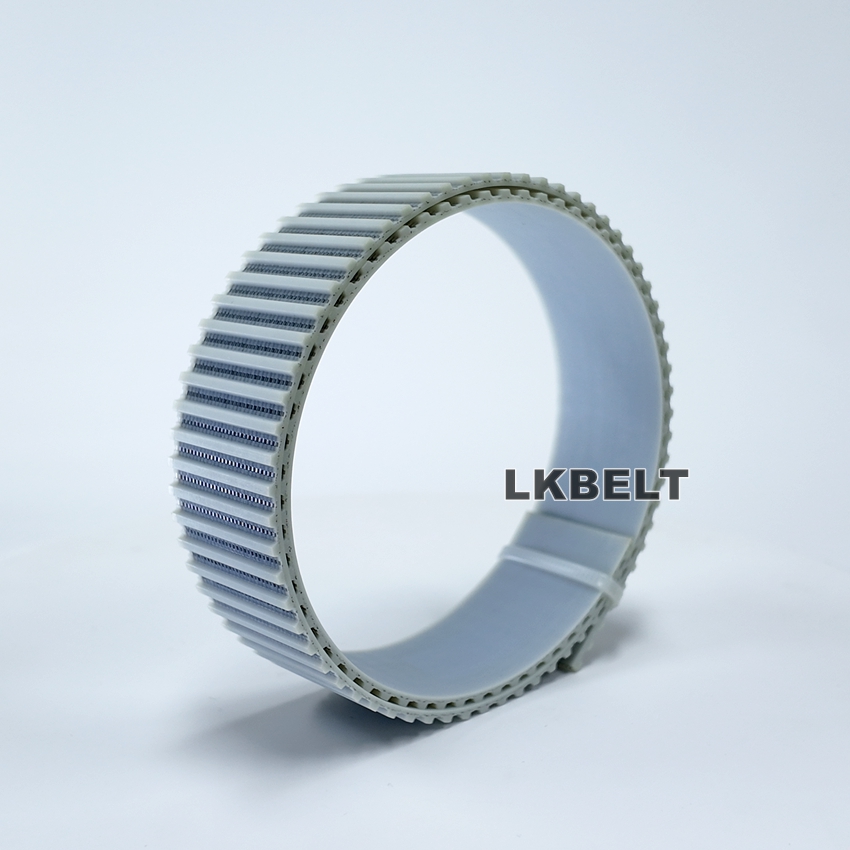
Timing belts
For a toothed-belt position. Match the pulley system, pitch length, working face and any attachments to the drawing.
Explore timing belts
Flat conveyor belts
For a station designed around broad surface support. Review the complete cover and fabric build, underside, joint and machine-side requirements.
Explore flat conveyor beltsReview how the tile is actually supported
Lane spacing and contact tracks
Record the tile’s smallest and largest formats, the number of lanes, their centres and the supported face. A wider tile and a small cut piece may use the same line differently; retain the machine’s support layout.
Transfers and product edges
At each handover, document the gap, level difference and leading edge of the tile. If chipping occurs, show the location in a wider installation photograph as well as a close-up of the damage.
Surface condition and deposits
Check the contact tracks for dried glaze, powder or embedded particles. Compare the clean and operating surface with the product finish requirement before treating a new belt texture as the solution.
Identify what must move together
A timing-belt position needs a system reference
The teeth locate the belt against its mating pulley. Where parallel belts or attached plates carry a tile, keep the belt pair, pulley arrangement and attachment drawing in the same specification.
Record the required tooth profile, pitch, tooth count or pitch length, width and original code. Add the reinforcement and working-face construction where documented.
For a roller-drive belt, identify the driven roller arrangement separately from the surface carrying the tile. A belt hidden below the conveyor may transmit power without touching the ceramic product.
Review timing belt optionsSeparate water, dust and contact temperature
Wet processing
Identify water, glaze, slurry and any cleaning products separately. Include actual contact temperature, exposure duration and whether the belt remains wet during stops.
- Record the fluid and the point where it reaches the belt.
- Describe deposits, drainage and cleaning access around the contact tracks.
- Agree material compatibility for the selected construction and actual chemicals.
Dry processing
A dry-squaring station has a different exposure from a wet line. Describe ceramic dust, debris and the actual extraction and cleaning arrangements.
- Locate accumulated dust around the working face, guides and pulleys.
- Record abrasion and edge damage with position-specific photographs.
- Keep the station’s original belt profile and operating limits with the inquiry.
Measure temperature where the belt works
State whether the value describes the product, the belt contact, nearby air or the process chamber. Include the measuring point and operating duration. For a hot product leaving a process, obtain the duty at the transfer itself before choosing a cover, joint or reinforcement.
Record the section, the loop and the machine
| Construction | Dimensions and features | Machine information |
|---|---|---|
| Round or profiled belt | Diameter or full cross-section, surface, finished loop basis, reinforcement and end-joint details. | Pulley/groove geometry, smallest bend, lane arrangement and original installation instructions. |
| Timing belt | Tooth profile, pitch, tooth count/pitch length, width, backing and any hole or attachment pattern. | Mating pulley reference, drive layout, guides, attachment drawing and matching requirements. |
| Flat conveying or pressure belt | Finished circumference basis, width, thickness, cover texture, underside and joint. | Support bed/rollers, direction of travel, forward/reverse bends, clearances and the installed pressure/contact arrangement. |
Keep measurements from a worn belt separate from the requested new dimensions. For a round-belt replacement, retain the joint and installation method specified for that construction; a general stretch percentage should not be used as a length rule for every diameter or reinforcement.
Use the wear pattern to focus the review
| What you observe | What to inspect together | What to send |
|---|---|---|
| Slip or an unstable handover | Wet/deposited contact face, lane support, gap/height at the transfer and product format. | Located video or photographs; machine speed, product condition and when the behaviour starts. |
| Chipped edges or broken corners | The handover location, guides, supports and the tile’s leading edge. | A wide view locating the damage, the tile size and a close-up of the affected edge. |
| Scuffs or repeated surface marks | Belt tracks, contamination, surface texture and any upper pressure component. | Which tile face is marked, contact-track positions and repeat spacing if present. |
| Lane mismatch or positioning variation | Belt references, the original synchronization arrangement, pulleys and attached fixtures. | Identify each lane and provide the set history, original codes and relevant drawings. |
| Joint damage or one-sided belt wear | Joint type and finish, smallest bends, guides and the place where damage begins. | Both belt faces, the joint, installed path and maintenance history. |
Agree the sample review before ordering
Fix the reference
Identify one station, drawing revision, belt construction and any paired-belt requirement. Label samples so observations can be traced to that exact build.
Check dimensions
Agree the measurement method, finished length basis, section and joint details. Retain the results with the drawing and installation requirements.
Use representative tiles
Include the formats and finishes relevant to the order. Observe conveying, transfers and contact tracks under documented wet or dry conditions.
Retain acceptance criteria
Agree what constitutes acceptable surface condition, handling and belt behaviour. Record the conditions, result and any changes before production approval.
Ceramic belt selection questions
Which belt is used for ceramic tile glazing?
Some glazing lines use round or profiled conveying belts, including curved sections. Start with the installed section and lane arrangement, then review the contact face, glaze exposure and pulley geometry for that station.
Can one replacement specification cover both wet and dry finishing?
Treat each station separately. Wet finishing, dry squaring, an upper pressure position and a lower conveyor can have different constructions, contact conditions and dimensions.
Do I need to replace parallel belts as a set?
Check the machine’s matching requirements and current service history. Identify the lane references, positions and construction rather than mixing belts solely because they have the same nominal length.
Can a general PU conveying belt be specified from kiln temperature?
No. A roller kiln and its transport components are a separate system. For a nearby handling belt, specify the actual component, product/contact temperature and duration at that position.
What helps review a glazed or polished tile marking problem?
Show the marked face, track location and any repeat pattern. Add belt-face and installed-position photographs, process conditions and recent changes to cleaning, tiles or tooling.
What should I send for a replacement quotation?
Send the machine/station reference, original belt code, drawing or measured section, finished dimensions, quantity and delivery destination. Add product formats, operating conditions, joint details and any required sample evaluation.
Discuss the belt at your ceramic production station
Send the station name, original belt reference and drawing, together with tile dimensions, process conditions and your required quantity.
- Glazing, transfer, finishing or sorting position
- Tile size, condition and face in contact
- Belt section, loop basis, working face and joint
- Water, glaze, dust and measured contact temperature
- Sample scope, quantity and destination
Bring your reference to LKBELT
We help you define the belt construction around its job and the original machine arrangement. Keep the proposed construction, final dimensions and evaluation criteria together.
Get a Quote